No WAY am I using that passport photo!

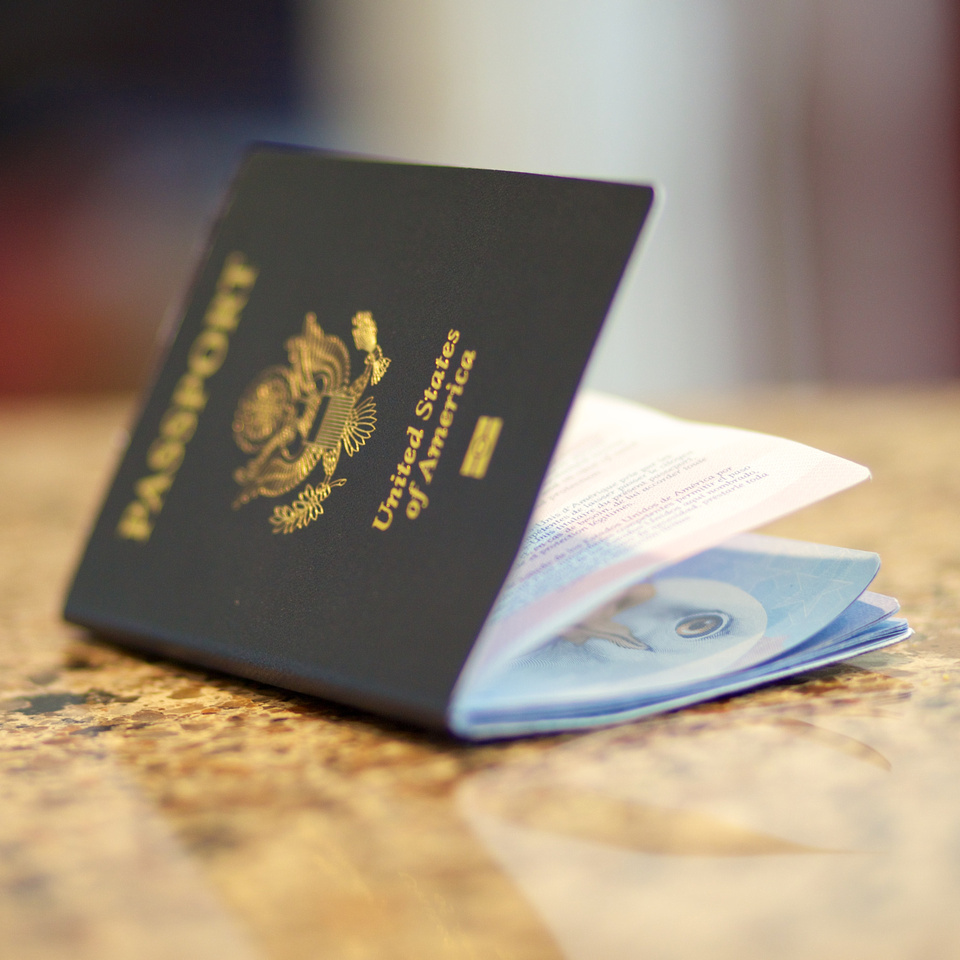
 This all started last week when I found out I needed a China visa for my passport. (I'm a corporate pilot in my other life and often find myself flying around the world.) China visas can be a pain to acquire. We used to be able to get multi-entry visas good for a year, but in the last few years China has changed the rules and now the visas are only good for 6 months and allow only 2 entries per visa. The visa paperwork requires a passport photo - and this is where this whole thing started.
Work calls, we're busy right now and I need to get a passport photo taken for a China visa application ASAP. I also need to get some extra photos for a two-year passport that needs to get renewed. (We have 2 passports - a normal ten-year and a two-year. This way if we are traveling on one passport, the other can be sent in for various visas. )
Anyway, I rushed off to Kinkos, or Fed-Ex Office - whatever it's called now - to get my photo taken. The guy has me stand in front of their white background, snaps the shutter and starts printing out my order.
Now, I'm in my early 40s and my near eyesight isn't what it used to be. I have to use those "reading glasses" things for near detail work. When the Kinkos guy showed me the back of his camera I really didn't see the photo in enough detail to make a quality determination. When I got home with the pics, found my glasses (a never ending search) I was horrified.
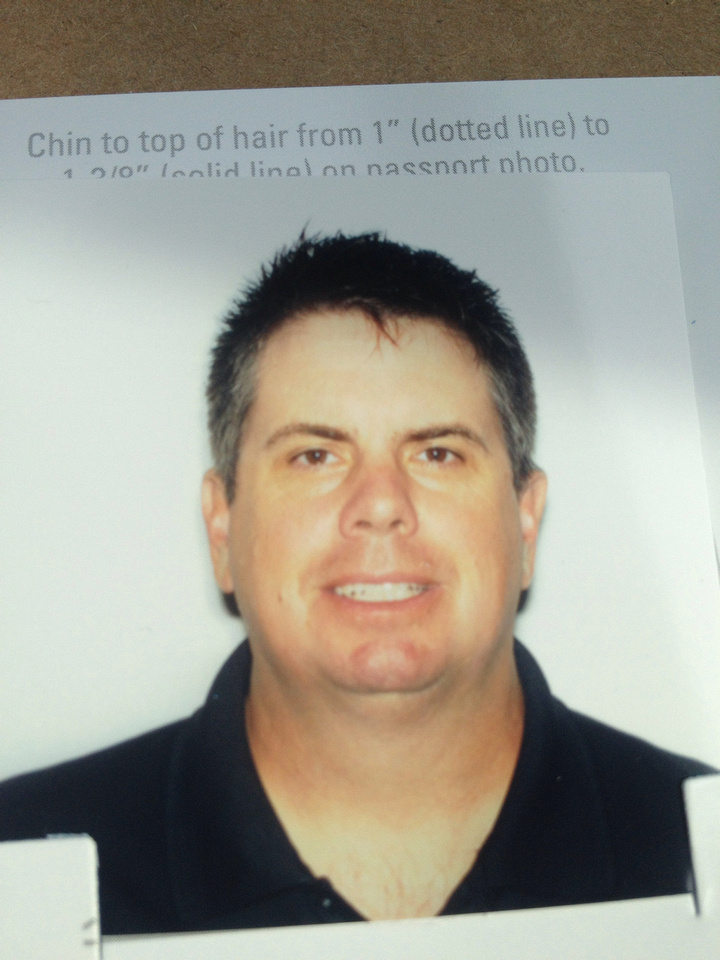 OH MY GOD!! I look terrible! There is NO WAY I'm going to to let this shot be my passport photo for the next 2 years. Unfortunately this photo was sent along with my China Visa application, but I'm not going to let this mug shot live in my upcoming passport renewal.
I went to Mr. Google to find out about passport photo specifications. They aren't really that complicated. You can find out the technical specifications by clicking here.
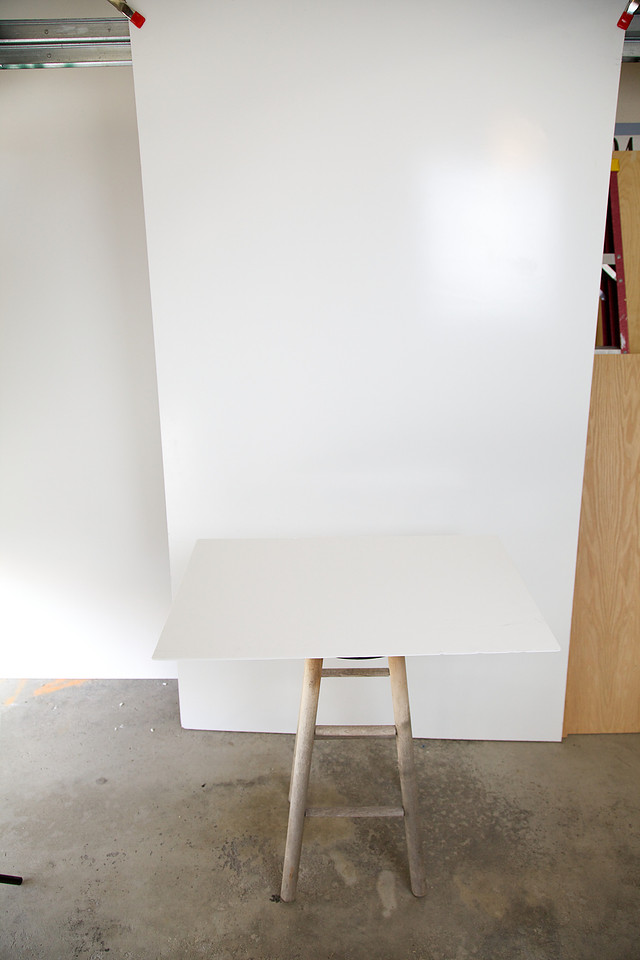
I set up my garage "studio." I have a 4x8 sheet of white stuff I bought at Home Depot a few years ago, so I set it up with some clamps to the garage door track. I have a softbox that works with my canon 580EXII flash that I decided to use for a key light.
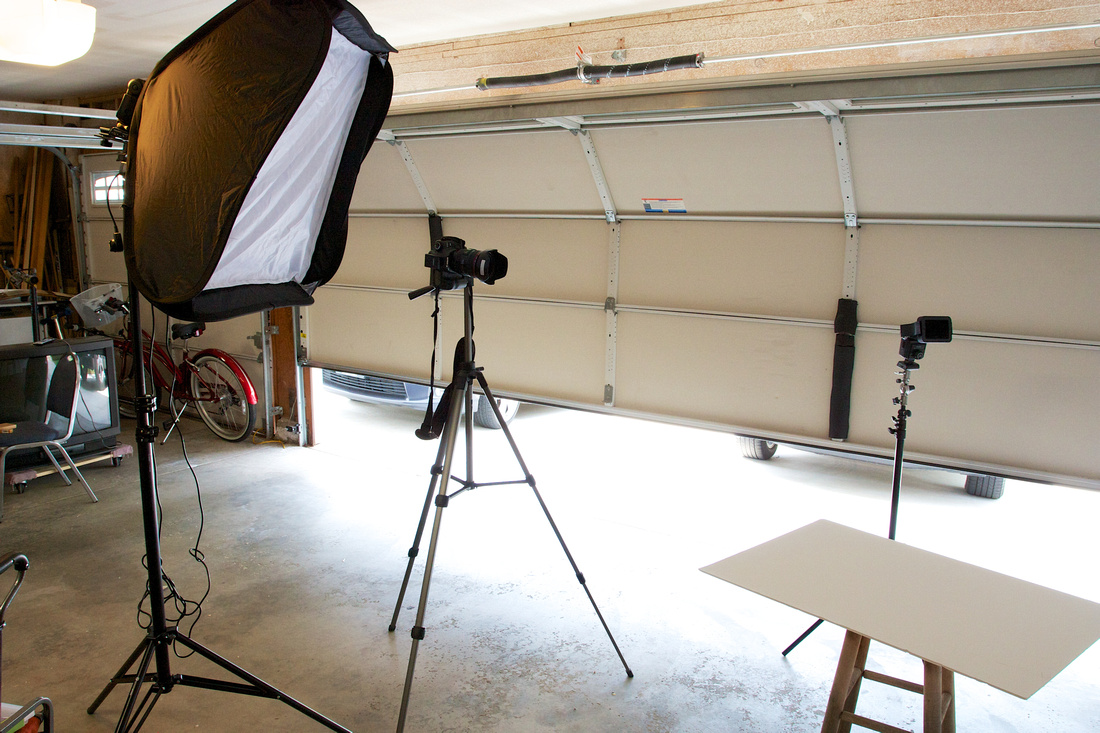 I initially used just the softbox and connected it to my camera via a wired ETTL cord. Unfortunately I was getting a major hot spot on the background (and some nasty shadows) so I decided I needed to light the background separate from the model. (ME) I have a couple cheap Vivitar flashes so I set one up on a light stand and strapped a grid to its business end. Now, instead of using my ETTL cord, I would use some wireless triggers (cheap on Amazon) and use the flashes in manual mode. I used a piece of foam core for a bounce card.
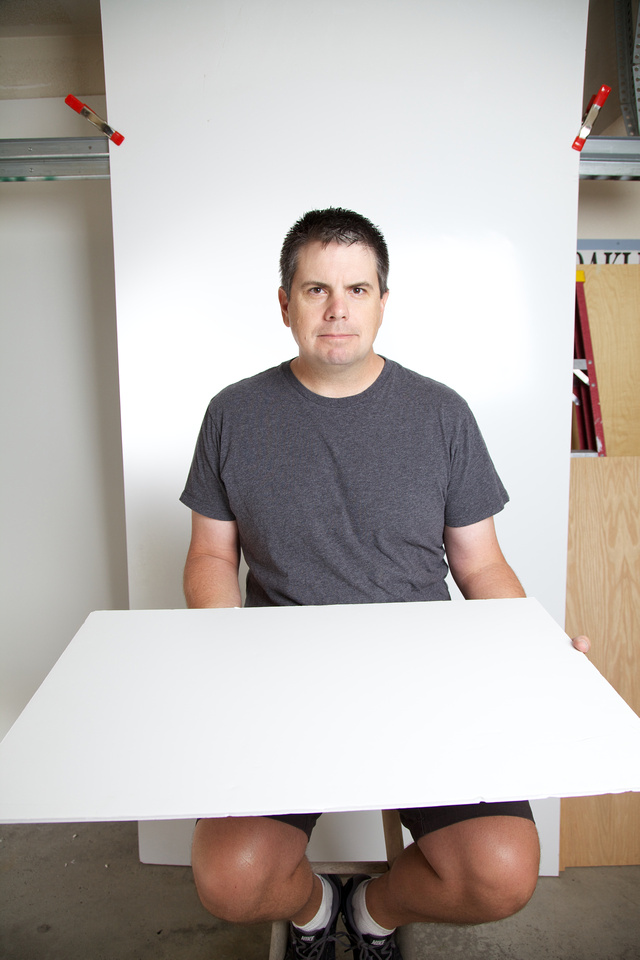 Okay, now we're getting somewhere. I set the camera up (iso 200, 24mm, f5, 1/80s, manual mode) and had my wonderful wife come out and shoot me. (With the camera ;) ) After just a few shots (she's good) and actually LOOKING at the back of the camera WITH READING GLASSES I was happy with what we got. Now it's time to process the images.
I use Apple Aperture, so I imported the images into Aperture. I did some minor adjustments (backed exposure off a little, minor increase in contrast - and maybe a little tweak in Photoshop) and was ready to crop. The final passport photo is in square format, so I selected a square crop and cropped square - but larger than my final photo would be. I then exported the pic in .jpg format to my desktop.
Now believe it or not, but the US State department actually has an on line passport photo cropper! Click here to check it out.
I uploaded my jpg to their tool and adjusted the sliders so my face fit in between the green ovals.
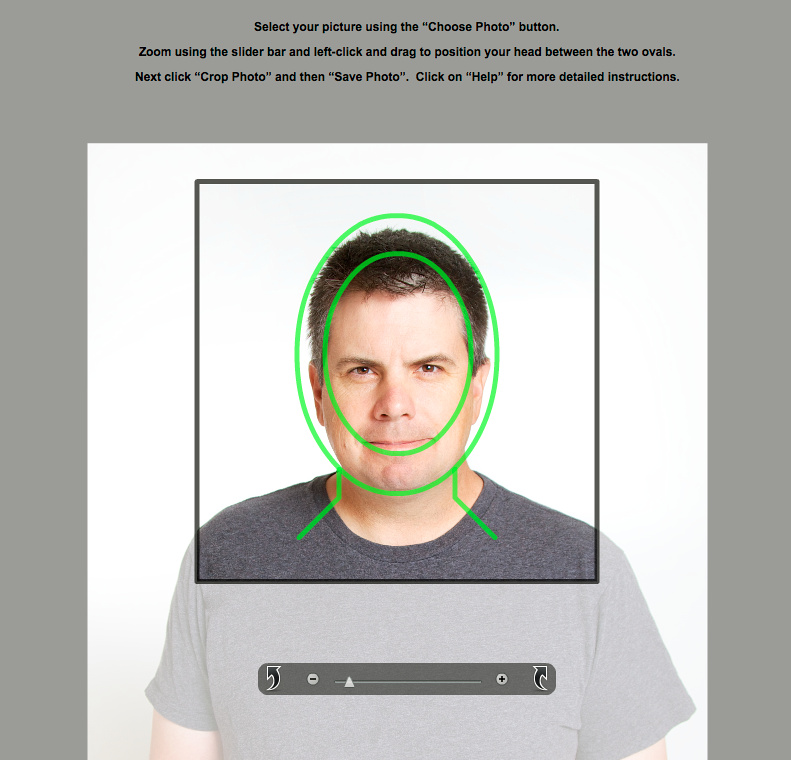 You click "crop" and "save." Now you have the final file. I imported it into Aperture, and selected "Print Image" from its File menu.
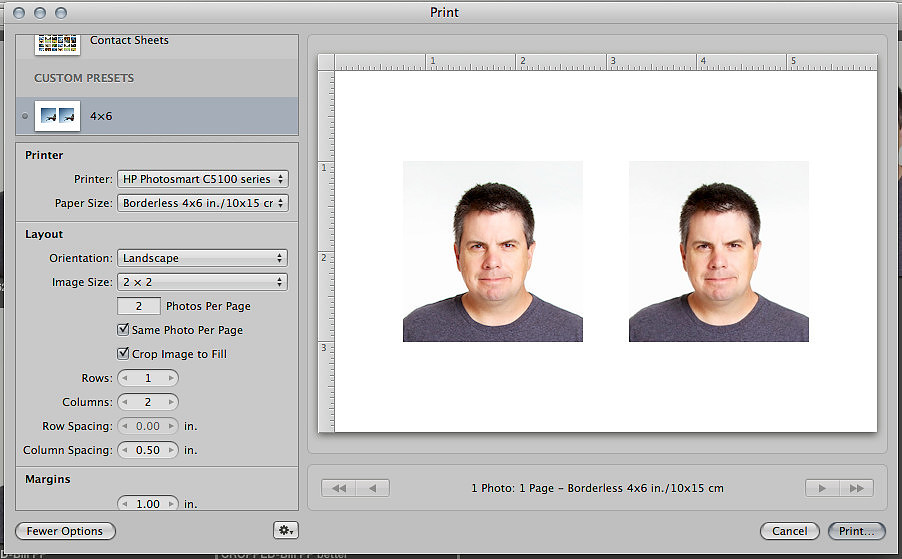 I have a 4x6 photo tray, so I selected it as a source and a 2x2 inch photo size for final output. Next thing I knew my printer was kicking out passport photos.
Now the HARDEST part of this process is cutting out the perfect 2x2 photos. I ended up using a photo trimmer my wife had, and making some final trims with a sharp pair of scissors.
Here is the before and after. While I'll never get mistaken for George Clooney, I am much happier with the product I created in my garage than the one I paid twenty bucks or so to have done.
 Now, if California would let me take my own driver's license shots.....